Keg Kit Setup
Initial Premium Keg It® Keg Kit Setup
*Your Keg Kit will come mostly pre-assembled, but if you need to take anything apart for a deep clean and need to re-assemble you can find the instructions below!
Before You Start:
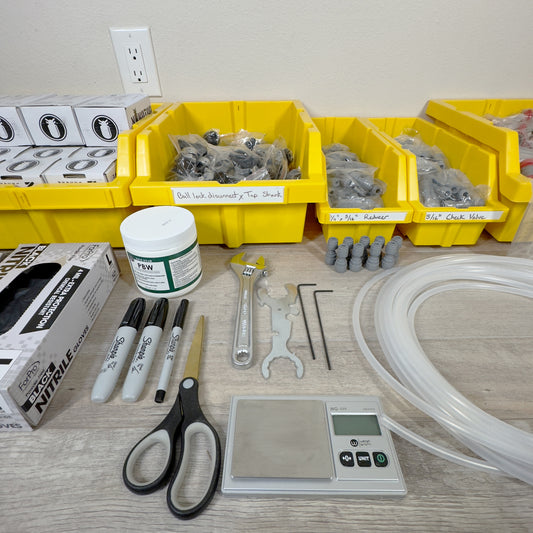
Gather the following tools:
- Slotted Screwdriver
- Philips Screwdriver
- Crescent Wrench
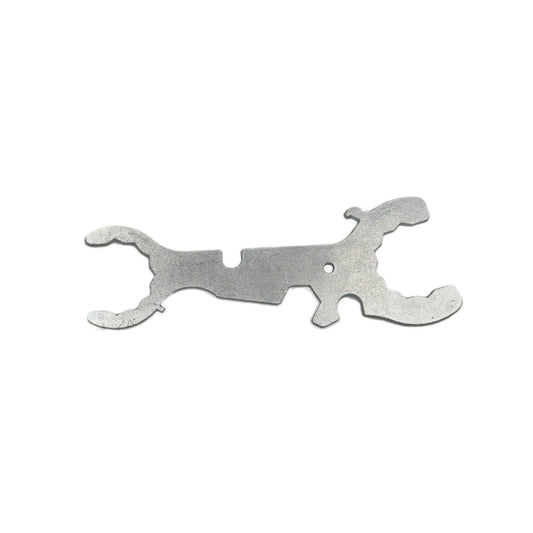
- Your All-in-One Tap Maintenance Tool (or other Tap Spanner)
Step 1: Setting Up Your Mini Gas Regulator
Assemble the Mini 360 regulator by replacing the FFL fitting with the push-fit type using a slotted screwdriver.


Step 2: Setting Up Your Gas Connections
Connect the push-fit reducer to one end of the supplied one foot long tubing, and the other end to the grey and red ball lock gas fitting. Pull out the collars on each fitting, and insert the circlips (when clipped into place these circlips prevent the collars from being pushed inwards, making it impossible for the fitting to release its grip on any hose.

Make sure the appropriate length of tubing is inserted as deep as is marked on the fitting and give it a firm tug. This ensures the metal 'teeth' inside the fittings grab hold and the O rings are properly sealed against the outside of the tubing.
Step 3: Assemble Your Tap
Assemble the flow control tap by connecting it to the supplied integrated shank to ball lock disconnect (black) using the supplied All-in-One Tap Maintenance Tool.
Ensure it’s sufficiently tightened (otherwise leaks will occur). Retain the removable tap handle for use, but don’t attach at this time.
Questions? Ideas? Interested in seeing what's next?
Drop us your email or reach out to me directly at Dallas@KegIt.co
We're always keen for a chat :)
Check out these best sellers:
-
Keg It® Keg Bag - Portable Keg Cooler Bag
Regular price $149.99 USDRegular price$149.99 USDSale price $149.99 USD -
 Bundle & Save!
Keg It® Keg Cup - Dual Walled Stainless Steel Party Pint
Regular price $12.00 USDRegular price$15.00 USDSale price $12.00 USDBundle & Save! -
Keg It® Keg Cup Multi-Pack - Dual Walled Stainless Steel Party Pints
Regular price From $24.00 USDRegular price$30.00 USDSale price From $24.00 USDBundle & Save! -
 Bundle & Save!
Keg It® Keg Cup - Single Walled Stainless Steel Party Pint
Regular price $5.00 USDRegular price$8.00 USDSale price $5.00 USDBundle & Save! -
Keg It® Keg Cup Multi-Pack - Single Walled Stainless Steel Party Pints
Regular price From $12.00 USDRegular price$20.00 USDSale price From $12.00 USDBundle & Save! -
Keg It® Party-Perfect Drip Mat / Slap Koozie
Regular price $5.00 USDRegular price$5.00 USDSale price $5.00 USD -
Keg It® Tap Handles - Select Series
Regular price From $5.00 USDRegular price$5.00 USDSale price From $5.00 USD -
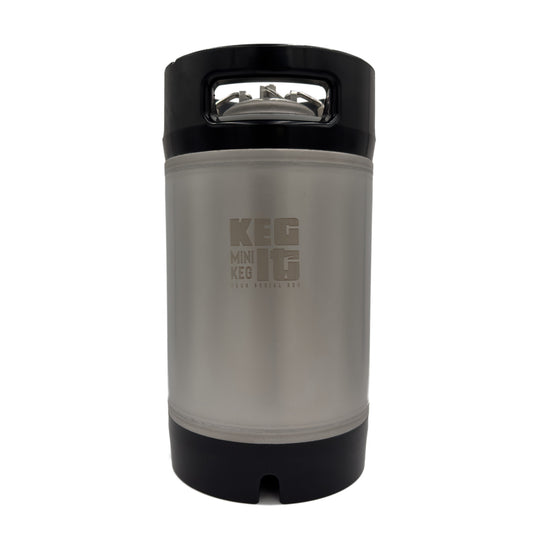
Keg It® Mini Keg (Premium 2.5 gal Stainless Steel Easy-Open Corny Keg)
Regular price $125.00 USDRegular price$125.00 USDSale price $125.00 USD -
Keg It® Gift Card
Regular price From $10.00 USDRegular price -
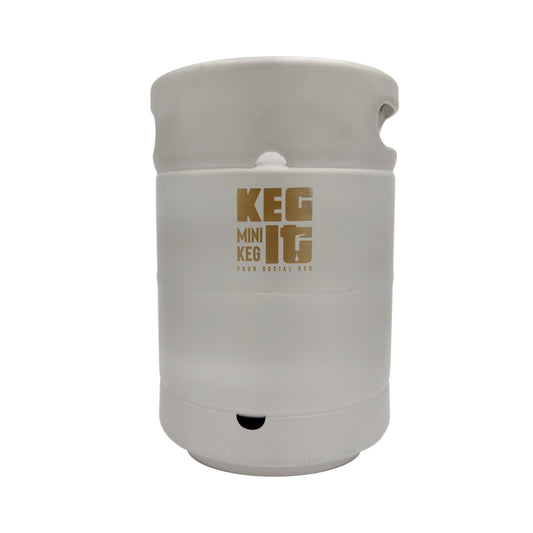
Keg It® Mini Keg (Premium 2.5 gal Stainless Steel Keg with Sanke "D" Type Spear)
Regular price $130.00 USDRegular price$130.00 USDSale price $130.00 USDSold out -
All-in-One Tap Maintenance Tool
Regular price $5.00 USDRegular price$5.00 USDSale price $5.00 USD -
Ready-to-Serve Equipment Setup Service Plus Video Call Support
Regular price From $50.00 USDRegular price
