Keg Kit Setup V1 (Under Construction)

Keg It® Keg Kit Setup

Pour Like a Pro

Everything you need to clean, fill, connect, and enjoy your first confident pour. No keg experience required.

Start with Step 1

Meet Your Keg Kit

Get familiar with the core parts before you begin.

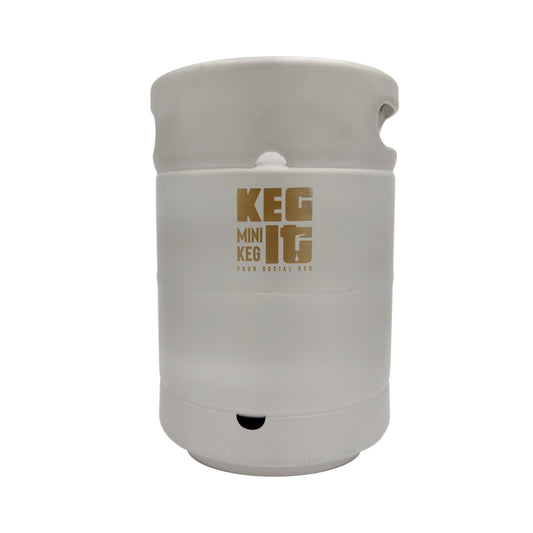
Keg Kit Components including the Keg It® Mini Keg, the keg lid, the tap assembly, the regulator, the gas line, the multitool, the tap brush plug, the keg bag, and option CO2

  1. 1 Mini Keg
  2. 2 Oval Lid
  3. 3 Tap Assembly with Tap Handle
  4. 4 Regulator
  5. 5 Gas Line
  6. 6 Multitool
  7. 7 Tap Plug & Brush
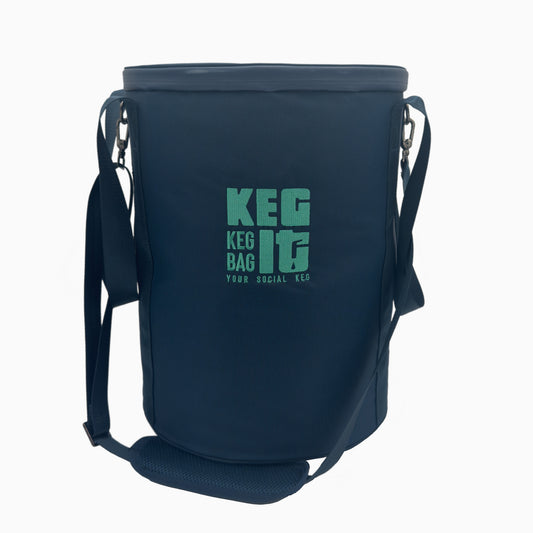
  8. 8 Keg Bag

CO₂ bottleIncluded only if purchased with your kit.

Found the core parts? You’re ready to rinse.

Rinse

Before your first pour, give the keg a quick wash.

A stainless steel mini keg with a black top handle and a separate metal lid resting beside it in a white sink. Water is being poured into the keg from a faucet, and a bottle cap is shown dispensing dishwashing liquid.

  1. 1Wash the keg and lid with warm water and a drop of dish soap.
  2. 2Rinse everything thoroughly.
Clean and fully rinsed? You’re ready to fill.

Fill

Mix your drink directly in the keg and leave a little room at the top.

Pouring a drink into the open mini keg, leaving space near the top

  1. 1Pour your drink into the keg.
  2. 2Leave some empty space at the top.
  3. 3Wipe the lid’s sealing surface if needed.
Dallas’s tips

- Start with cold ingredients if you can.

- Strain out pulp and spices so they don’t clog the drink tube later.

- Make as much or as little as you want, you don't have to make a full keg.

Filled with room at the top? You’re ready to install the lid.

Seal

Fit the oval lid, turn it into place, then lock it.

  1. 1Slip the lid through the opening at an angle.
  2. 2Turn it until it lines up beneath the opening.
  3. 3Pull it up, then push the handle down to lock.
Know your postsGray = GAS IN. Black = DRINK OUT.
lid Won’t sit flat?

Open, adjust, and try again. Sometimes it just needs a wiggle.

Lid locked and sitting evenly? Your keg is ready to chill.

Chill

Place the keg in the bag and surround it with ice.

  1. 1Make sure the protective insert is flat inside the bottom of the bag.
  2. 2Lower the sealed keg into the bag.
  3. 3Line the black OUT post with the Keg It® logo.
  4. 4Pack ice around the keg, then close the zipper.
Keg positioned, iced, and zipped? You’re ready to set up the gas.

Pressurize

Prepare the gas system and set the pressure before connecting it to the keg.

Before attaching the regulator to the gas bottle

Back the top stainless pin fully out. Turn the black pressure knob fully toward .

  1. 1Push the gas line into the regulator fitting. Tug gently to confirm it’s locked.
  2. 2Screw the CO₂ bottle into the regulator tightly by hand.
  3. 3Slowly screw the top stainless pin down to open the bottle.
  4. 4Slowly turn the black knob toward + while watching the gauge.
  5. 5Overshoot? Back off the black knob, then pull the regulator’s pressure-release ring (its safety valve), and adjust the knob to set it again.
Still cocktails1-5 PSI
Beer8–12 PSI
Sparkling drinks12–18 PSI
Nitro drinks40–50 PSI*

*Nitro serving requires a compatible nitrogen source and setup.

Dallas’s tips

- Set the pressure before connecting to the keg. With only the gas line pressurized, the gauge responds much faster.

- The above numbers are guides; if your drink isn't pouring fast enough, increase the pressure.

Gauge holding at your chosen PSI? Your gas system is ready to connect.

Connect

Attach the gas and tap to the correct keg posts.

Before attaching the tap

Close the tap handle and turn the flow-control lever fully back.

  1. 1Secure the CO₂ bottle and regulator in the bag straps. Keep the gas line relaxed and free of kinks.
  2. 2With the gas line forming a backwards 'J', lift the red ring (collar) on the gray gas fitting, feed it through the center slot on the lid, press it onto the gray IN post, then let go.
  3. 3Lift the black ring (collar) on the tap's fitting, press it onto the black OUT post, then let go. The tap should go out through the front zipper NOT the top slot.
  4. 4Close the zippers, allowing space next to both the gas connection and the tap at the front.
Good to knowA small opening around the keg connections is normal.
Connection checkGently lift each fitting. It should remain securely attached, though there will be a little play.
Both fittings locked and the tap closed? You’re ready to pour.

Pour

Start slowly, then adjust the flow until it looks right.

  1. 1Hold your glass beneath the tap at a 45° angle.
  2. 2With the flow control fully back, pull the tap handle fully forward.
  3. 3Slowly ease the flow-control lever forward until the drink pours smoothly.
  4. 4At about three-quarters full, straighten the glass. Finish the pour, then close the tap.
Too fast or foamy?Ease the flow-control lever back until the pour settles down.
Dallas’s tips

- I always begin with the flow fully closed. It’s much easier to increase the flow than clean a drink off the ceiling.

Smooth, controlled pour? You did it. Enjoy your first drink.

After the Party

Finished pouring? Secure the keg now and clean it when you’re ready.

  1. 1Disconnect the gas line from the gray IN post.
  2. 2Leave the lid locked and the keg pressurized.
  3. 3Clean the keg when it’s convenient.
Saving the rest?Keep the keg sealed and cold until you’re ready to serve it again.
Don’t release the keg pressure yet

Release it immediately before opening the keg to clean.

Gas disconnected and lid still locked? Your keg is safely paused until cleanup.

Clean

Release the pressure, rinse thoroughly, and leave everything open to dry.

Before opening

Pull the pressure-release ring on the keg lid until all hissing stops.

  1. 1Remove the lid, spray warm-to-hot tap water around the keg interior, then empty it.
  2. 2Repeat. Use a soft sponge or brush only for stubborn residue.
  3. 3Occasionally run warm-to-hot water through the tap.
  4. 4Leave the lid resting loosely in the opening so everything can dry.
Gas lineNo routine cleaning is needed. Keep it dry and away from harsh chemicals.
Never lock the lid on a damp keg

Clean and hang the lid in the opening for storage to keep it fresh for next time.

Keg clean, dry, and stored open? It’s ready for your next gathering.

Quick Fixes

Start with the symptom, then check the simple things first.

Too foamy?

  1. Make sure the drink and keg are cold.
  2. Ease the flow-control lever back.
  3. Confirm the pressure matches your drink.

Won’t pour?

  1. Is the CO₂ bottle open?
  2. Does the gauge show pressure?
  3. Is the flow control open?
  4. Still nothing? Check for a clog.
Before checking a clog

Pull the keg lid’s pressure-release ring until all hissing stops. Always fully depressurize the keg before removing the black OUT post.

  1. 1Use the multitool to remove the black OUT post.
  2. 2Inspect and rinse the post and dip-tube opening.
  3. 3Reinstall the parts before pressurizing the keg again.
REmember

Strain pulp and avoid powdered ingredients that don't dissolve fully. Both can clog the drink tube.

Found the cause and restored the pour? You’re back in business.

Explore

Now that you know the system, make it your own.

What will you pour next?

Beer, cocktails, sparkling drinks, cold brew, and plenty more. Start with a favorite or find something new worth sharing.
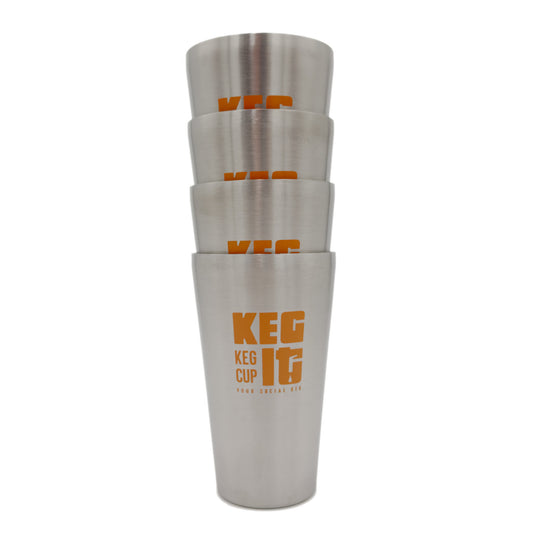
Explore Keg It® recipes

Found your next pour? You’re ready to make the Keg It® system your own.

That’s it

You’re Ready.

The best gatherings rarely happen by accident.

They usually begin when someone simply decides to invite people over.

Thanks for letting Keg It® be part of yours.

Cheers,
Dallas
Founder, Keg It®

✓ Your Keg It® Keg Kit is ready. Now give people a reason to stay a little longer.

Keg It® Field Guide · Web Rev 1 · July 2026
kegit.co · Dallas@KegIt.co